


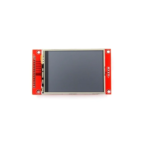
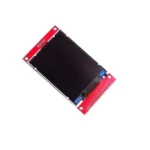
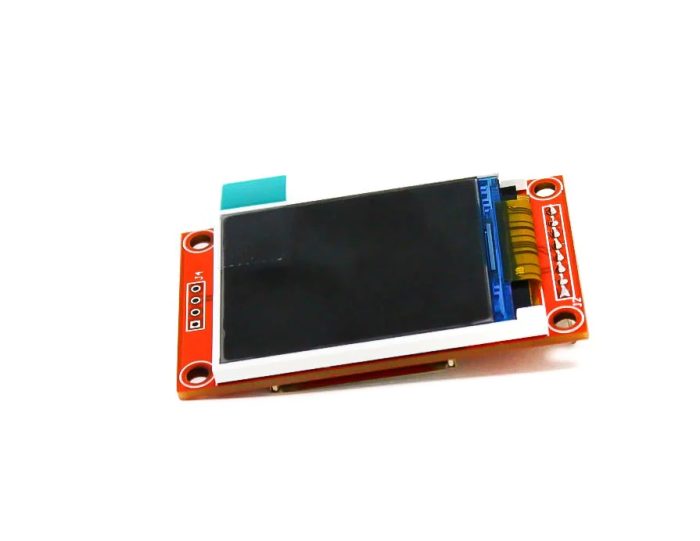
2.8 inch SPI Screen Module TFT Interface 240 x 320 without Touch
Original price was: ₹610.00.₹599.00Current price is: ₹599.00. (inc. GST)
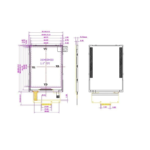
- Display Size: 2.8″
- Size: 8.5 x 4.8cm
- Input Voltage (V): 3.3 to 5
- Color Depth: 262K/65K
- Resolution (dots): 240 x 320
Out of stock
This product is currently sold out.
No worries! Enter your email, and we'll let you know as soon as it's back in stock.
2.8 Inch SPI Screen Module TFT Interface 240 x 320 Without Touch – High-Resolution Display for Your Projects
Enhance your electronic projects with this 2.8-inch SPI Screen Module, featuring a vibrant TFT interface and a high-resolution display of 240×320 pixels. Designed without touch functionality, this display is perfect for applications where precise visuals and simple integration are essential.
Key Features of the 2.8-Inch SPI Screen Module:
Big, Bright, and Colorful Display:
- With a 2.8-inch diagonal size, this module offers a bold and bright display for your projects.
- 240×320 RGB pixel resolution ensures clear and detailed visuals, significantly better than traditional black-and-white 128×64 screens.
Dual Operation Modes:
- 8-Bit Mode: Utilize 12 total lines (8 data lines + 4 control lines) for faster data transfer, making it suitable for high-performance applications.
- SPI Mode: Requires only 5 pins (SPI data in, data out, clock, select, and data/command), making it ideal for microcontrollers with limited pin availability.
Versatile and Easy to Use:
- Built with high-speed level shifters, the module is fully compatible with 3-5V microcontrollers, offering flexibility for a wide range of devices.
- The breakout board design allows quick and seamless connections, whether using SPI or 8-bit mode.
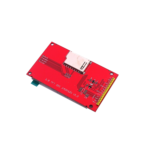
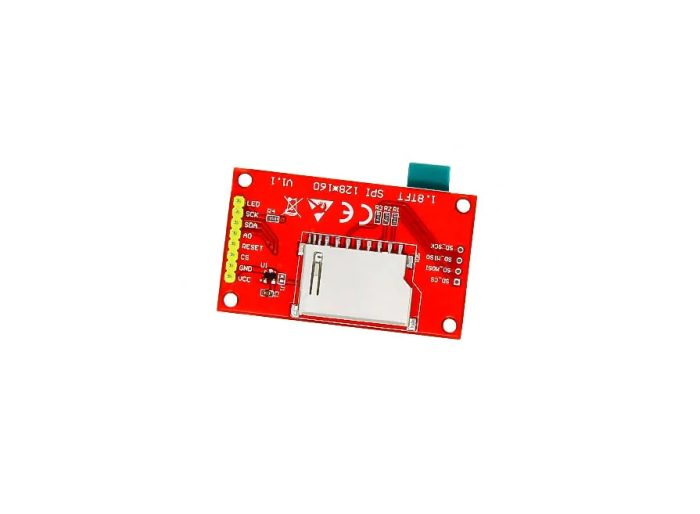
Onboard MicroSD Card Slot:
- In SPI mode, leverage the built-in MicroSD card socket to display images or load additional data, expanding the module’s functionality for multimedia projects.
Applications:
This 2.8-inch SPI screen module is ideal for:
- DIY electronics and robotics projects
- IoT interfaces and embedded systems
- Educational projects requiring vivid graphical displays
- Prototyping with microcontrollers like Arduino, Raspberry Pi, ESP32, and more
Specifications:
- Display Size: 2.8 inches (diagonal)
- Resolution: 240×320 pixels, RGB format
- Interface: SPI and 8-bit modes
- Voltage Compatibility: 3-5V
- Non-Touchscreen Module: Simplifies integration while maintaining high performance
Why Choose This 2.8-Inch TFT SPI Screen Module?
This 2.8-inch TFT interface module provides exceptional performance with its bright and colorful display, versatile connection options, and robust compatibility. Whether you’re designing an IoT dashboard, a compact graphical interface, or experimenting with microcontroller-based projects, this module delivers reliable and stunning results.
Upgrade Your Projects with a 2.8-Inch SPI Screen Module Today!
Bring your ideas to life with the perfect combination of vivid visuals, ease of use, and reliable performance.
Comprehensive Guide: Using the 2.8″ SPI ILI9341 TFT Display (Non-Touch) with Arduino Uno
⚠️ Critical Pre-Wiring Warning
- The Voltage Problem: The Arduino Uno operates on 5V logic, but the ILI9341 driver chip communicates using 3.3V logic.
- The Consequence: Connecting the data lines directly from the Uno to the display will cause the screen to overheat, glitch, or fail permanently.
- The Fix: You must place a 1kΩ resistor inline (in series) on every data pin to drop the current and protect the display logic lines.
1. Pin Map & Hardware Connections
| Screen Pin Label [1, 2, 3, 4, 5] | Wire Treatment | Connect to Arduino Uno Pin | Purpose |
|---|---|---|---|
| VCC | Direct Wire (No Resistor) | 5V Pin | Powers the onboard 3.3V regulator |
| GND | Direct Wire (No Resistor) | GND Pin | Common Ground |
| CS | Through 1kΩ Resistor | Digital Pin 10 | Chip Select |
| RESET (RST) | Through 1kΩ Resistor | Digital Pin 8 | Screen Hardware Reset |
| DC / RS | Through 1kΩ Resistor | Digital Pin 9 | Data / Command Toggle |
| SDI (MOSI) | Through 1kΩ Resistor | Digital Pin 11 | SPI Data Line |
| SCK (CLK) | Through 1kΩ Resistor | Digital Pin 13 | SPI Clock Line |
| LED | Through 100Ω Resistor | 3.3V Pin | Backlight Power |
| MISO (SDO) | Leave Disconnected | Unused | Only needed to read data/SD cards |
2. Software Installation (Arduino IDE)
- Open your Arduino IDE.
- Go to Tools ➔ Manage Libraries… (or press
Ctrl + Shift + I). - In the search bar, type Adafruit ILI9341 and click Install.
- Next, search for Adafruit GFX Library and click Install.
- If a prompt asks to install dependencies (like Adafruit BusIO), select Install All. [6, 7, 8, 9]
3. Tested Reference Code
#include "SPI.h"
#include "Adafruit_GFX.h"
#include "Adafruit_ILI9341.h"

// Define the custom pins for Software (Bit-Banged) SPI
// Software SPI is highly reliable on the Uno and eliminates bus conflicts
#define TFT_CS    10
#define TFT_DC     9
#define TFT_RST    8
#define TFT_MOSI  11
#define TFT_CLK   13

// Instantiate the display constructor using Software SPI pins
Adafruit_ILI9341 tft = Adafruit_ILI9341(TFT_CS, TFT_DC, TFT_MOSI, TFT_CLK, TFT_RST, 12);

void setup() {
  // Initialize the screen driver
  tft.begin();

  // Set Orientation: 0 = Portrait (240x320), 1 = Landscape (320x240)
  tft.setRotation(1);

  // Flash a solid background to wipe any boot-up noise
  tft.fillScreen(ILI9341_BLACK);
}

void loop() {
  // --- TEST 1: DISPLAY TEXT CHANNELS ---
  tft.fillScreen(ILI9341_NAVY); // Deep Blue Background

  // Print a Main Header Title
  tft.setCursor(40, 40);             // Coordinates (X, Y)
  tft.setTextColor(ILI9341_YELLOW);  // Text Color
  tft.setTextSize(3);                // Size Scale (1 is small, 3 is large)
  tft.println("RYTRONICS.IN");

  // Print a Subheading
  tft.setCursor(40, 90);
  tft.setTextColor(ILI9341_WHITE);
  tft.setTextSize(2);
  tft.println("ILI9341 Tutorial");

  // Print Status with Background Color Block (Prevents Text Flickering)
  tft.setCursor(40, 150);
  // Syntax: setTextColor(TextColor, BackgroundColor)
  tft.setTextColor(ILI9341_GREEN, ILI9341_NAVY);
  tft.setTextSize(2);
  tft.println("Status: SYSTEM OK");

  delay(3000); // Hold layout for 3 seconds

  // --- TEST 2: DISPLAY GEOMETRIC SHAPES ---
  tft.fillScreen(ILI9341_BLACK); // Clear to Black

  // 1. Draw a white hollow bounding border frame
  // Parameters: drawRect(startX, startY, width, height, color)
  tft.drawRect(5, 5, 310, 230, ILI9341_WHITE);

  // 2. Draw a filled solid red rectangle block
  // Parameters: fillRect(startX, startY, width, height, color)
  tft.fillRect(30, 40, 80, 50, ILI9341_RED);

  // 3. Draw a hollow cyan circle
  // Parameters: drawCircle(centerX, centerY, radius, color)
  tft.drawCircle(220, 70, 30, ILI9341_CYAN);

  // 4. Draw a filled solid green circle
  // Parameters: fillCircle(centerX, centerY, radius, color)
  tft.fillCircle(220, 160, 25, ILI9341_GREEN);

  // 5. Draw a simple diagonal line crossing the canvas
  // Parameters: drawLine(startX, startY, endX, endY, color)
  tft.drawLine(30, 180, 150, 180, ILI9341_MAGENTA);

  delay(3000); // Hold geometry display for 3 seconds
}
4. Essential Troubleshooting Guide
- The Screen is Completely White: This means the screen is getting backlight power, but no data. Check if your
SDI (MOSI)andSCKwires are mixed up or plugged into the wrong pin rows on your breadboard. [11] - Text is Flickering Rapidly: If you update sensor data inside the
loop()function, do not usetft.fillScreen()right before writing the text. Instead, usetft.setTextColor(TEXT_COLOR, BACKGROUND_COLOR). This draws a solid block over the old numbers, wiping them cleanly without a visible flash. - Text Strings Mirror-Inverted or Upside Down: Change the value inside
tft.setRotation(1). Cycling through parameters0, 1, 2, or 3rotates the display driver matrix by 90-degree increments until it fits your casing design perfectly. [12]
Only logged in customers who have purchased this product may leave a review.
Q & A
Refund and Returns Policy
Our refund and returns policy lasts 10 days from the date of delivery. If 10 days have passed since your purchase, we can’t offer you a full refund or exchange.
To be eligible for a return, your item must be unused and in the same condition that you received it. It must also be in the original packaging.
Several types of goods are exempt from being returned.
- Gift cards
- Downloadable software products
To complete your return, we require a receipt or proof of purchase.
Please do not send your purchase back to the manufacturer.
Partial Refund
There are certain situations where only partial refunds are granted (if applicable)
- Any item not in its original condition, is damaged or missing parts for reasons not due to our error.
- Any item that is returned more than 10 days after delivery
Refunds
Once your return is received and inspected, we will send you an email to notify you that we have received your returned item. We will also notify you of the approval or rejection of your refund.
If you are approved, then your refund will be processed, and a credit will automatically be applied to your credit card or original method of payment, within a certain amount of days.
Late or missing refunds
If you haven’t received a refund yet, first check your bank account again.
Then contact your credit card company, it may take some time before your refund is officially posted.
Next contact your bank. There is often some processing time before a refund is posted.
If you’ve done all of this and you still have not received your refund yet, please contact us at [email protected].
Late or missing refunds (if applicable)
Once refund is initiated you will get the refund initiated mail. after that wait for minimum 3 days.
Then contact your credit card company, it may take some time before your refund is officially posted.
Next, contact your bank. There is often some processing time before a refund is posted.
If you’ve done all of this and you still have not received your refund yet, please contact us at [email protected]
Sale Items
Only regular priced items may be refunded. Sale items cannot be refunded.
Exchanges
We only replace items if they are defective or damaged(during shipping) please take the photo if package is tempered or damage at the time of receiving goods . If you need to exchange it for the same item, send us an email at [email protected] and send your item to: M/S Rytronics Enterprises, Plot GH-05B Greater noida west Sector, 201306 (UP).
Shipping returns
To return your product, you should mail your product to: M/S Rytronics Enterprises, Plot GH-05B, Greater noida west Sector, 201306 (UP).
You will be responsible for paying for your own shipping costs for returning your item. Shipping costs are non-refundable. If you receive a refund, the cost of return shipping will be deducted from your refund.
Depending on where you live, the time it may take for your exchanged product to reach you may vary.
If you are returning more items value more then Rs 2000, you may consider using a trackable shipping service or purchasing shipping insurance. We don’t guarantee that we will receive your returned item.
Need help?
Contact us at [email protected] for questions related to refunds and returns.
You may also like…
1.8 Inch TFT LCD Module 128 x 160 with 4 IO
In stock
Original price was: ₹399.00.₹299.00Current price is: ₹299.00. (inc. GST)
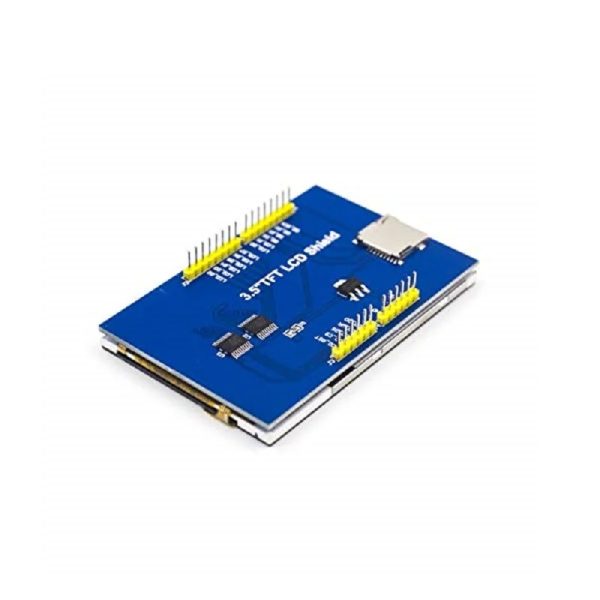
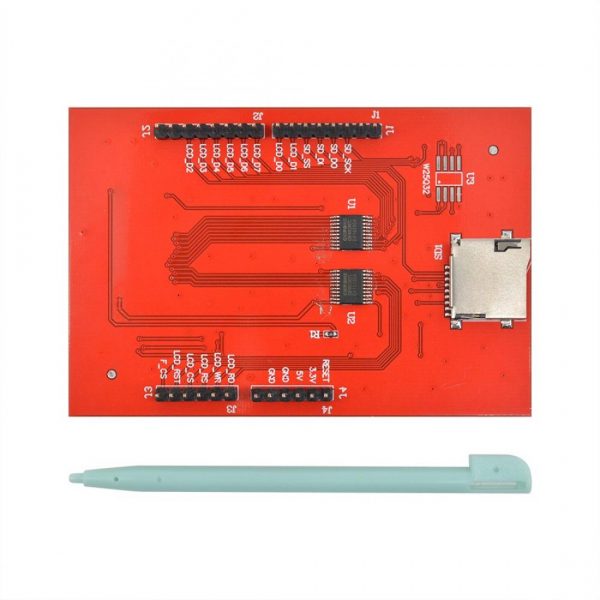
3.5″ inch ILI9486 TFT Shield LCD Module 480×320 for Arduino
In stock
Original price was: ₹1546.00.₹945.00Current price is: ₹945.00. (inc. GST)
3.5 inch TFT 480×320 Ultra HD LCD Touch Screen Display for Arduino
Out of stock
Original price was: ₹1546.00.₹1045.00Current price is: ₹1045.00. (inc. GST)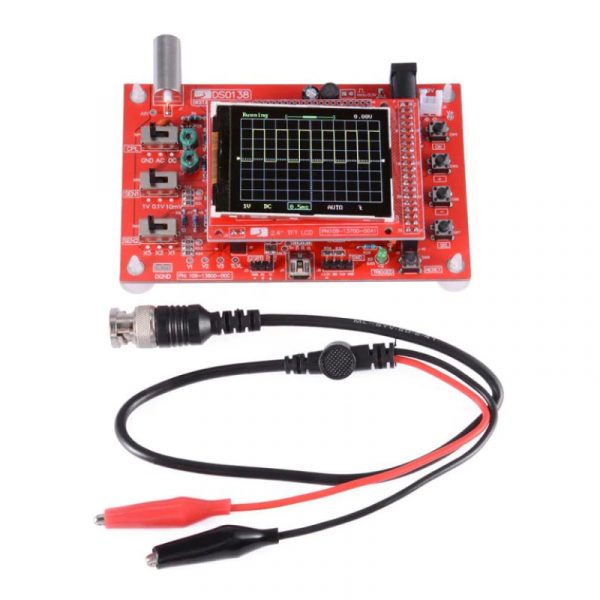
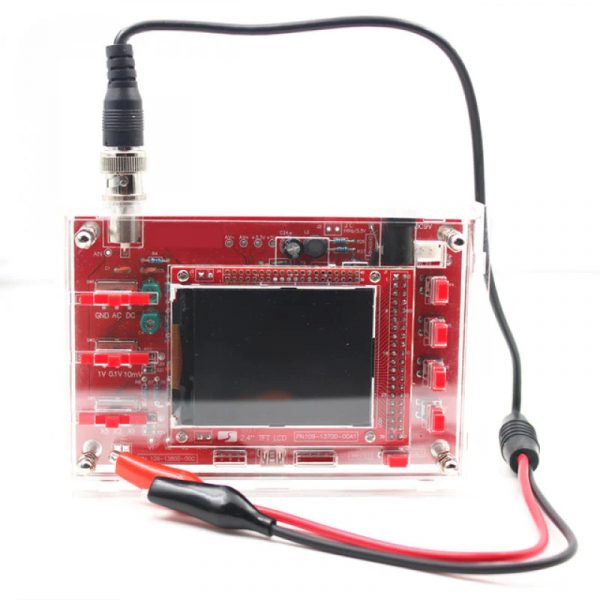
DSO138 2.4″ TFT Handheld Pocket-size Digital Oscilloscope Kit DIY Parts Electronic Learning Set Soldered
In stock
Original price was: ₹1999.00.₹1690.00Current price is: ₹1690.00. (inc. GST)Related products
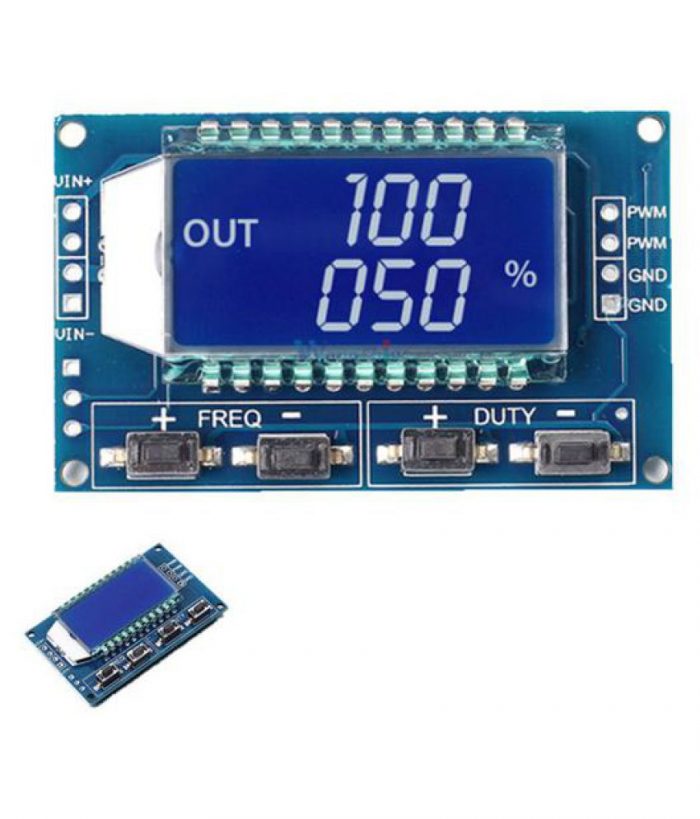
XY-LPWM Signal Generator PWM Pulse Frequency Duty Cycle Adjustable Module LCD Display Module
In stock
Original price was: ₹249.00.₹169.00Current price is: ₹169.00. (inc. GST)
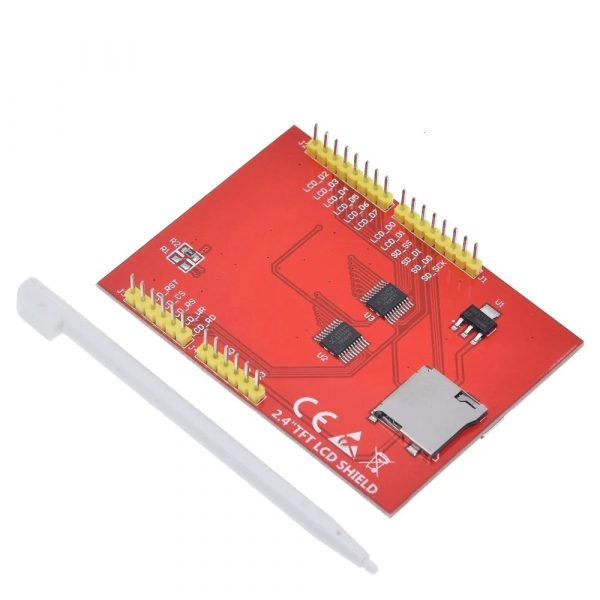
2.4 Inch Touch Screen TFT Display Shield for Arduino
In stock
Original price was: ₹699.00.₹428.00Current price is: ₹428.00. (inc. GST)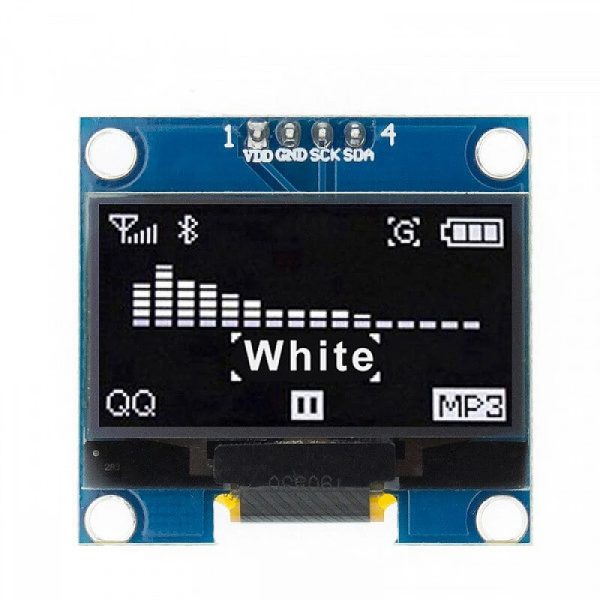


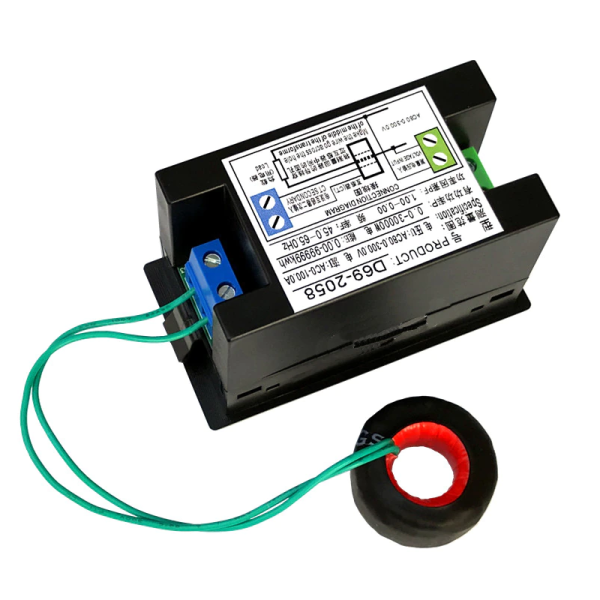
(D69-2058) Multi-function Digital Meter (6 in 1)
Out of stock
Original price was: ₹1848.00.₹1499.00Current price is: ₹1499.00. (inc. GST)
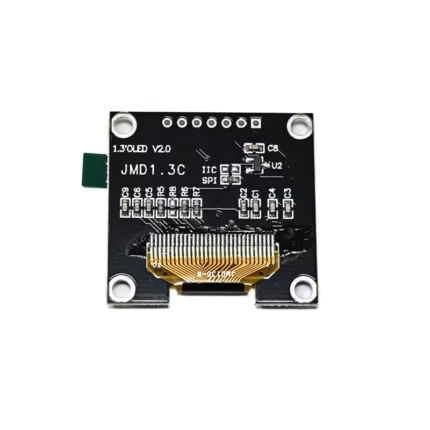
1.3 inch 128×64 SSD1106 Controller I2C/SPI OLED Display – White Color Screen
In stock
Original price was: ₹347.00.₹299.00Current price is: ₹299.00. (inc. GST)
Reviews
There are no reviews yet.